Hello colleagues,
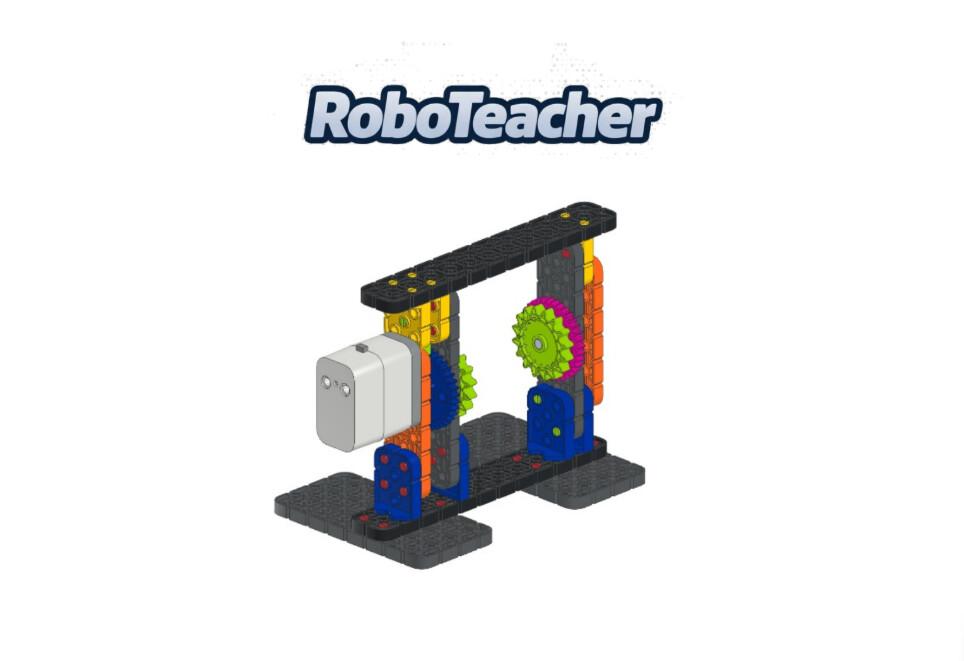
You may have already seen my Easter robot model for egg decoration.
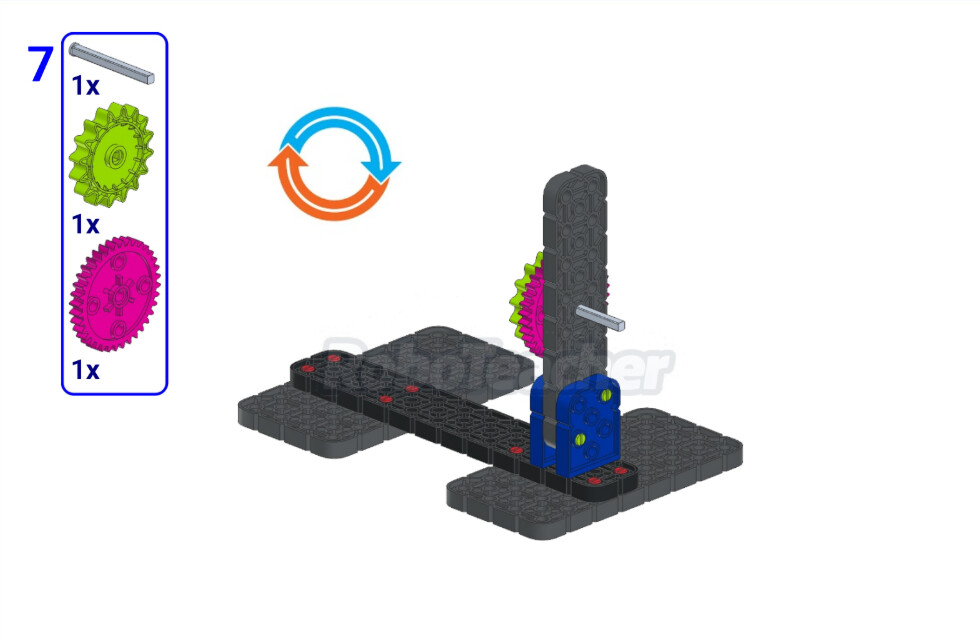
For those who are interested — I’ve created the instructions and uploaded them here. Feel free to download and use them.
However, please keep in mind that there is currently no dedicated tool for creating high-quality 3D models and instructions specifically for VEX GO (I mean VEX GO, not VEX IQ). Because of this, some parts were substituted with similar elements from VEX IQ and adjusted to match the correct colors.
If you find it useful — please download and don’t forget to leave your feedback in the comments.
I’ve also already created several new instructions for my latest robots.
If you have any questions — feel free to ask.
Thank you!
PS. This is my first VEX GO instruction, so please don’t judge too strictly. There are a few illogical steps, and some parts are approximate since there isn’t a proper VEX GO parts library available.
At the end, attach the Brain and the battery, and connect the motor, for example, to port 4.
I’ve also added a few photos to help better understand the model.
The only thing is that I designed this model based on the size of wooden eggs I found on Amazon. Depending on the egg size, you can add a small wheel rubber tire if the egg is too small, or remove a gear if the egg is too large.